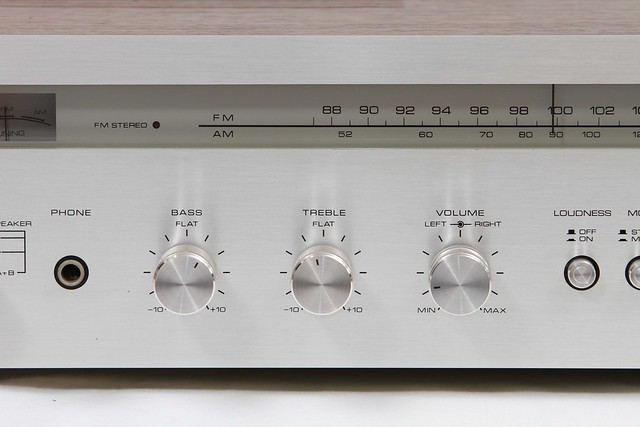
At 15WPC it's by no means a very powerful receiver. Infact this is the baby of the series being first produced in 1976. Looking at the internals it's not awfully complex either. Taking cues from the Yamaha receivers of the day, it's brushed aluminium faceplate is complemented by a faux vinyl woodgrain veneer built on a plywood casing. It's simply a nice little performer with good looks to boot.
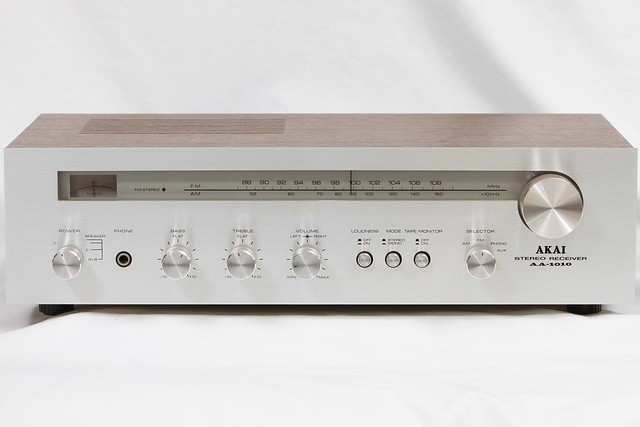
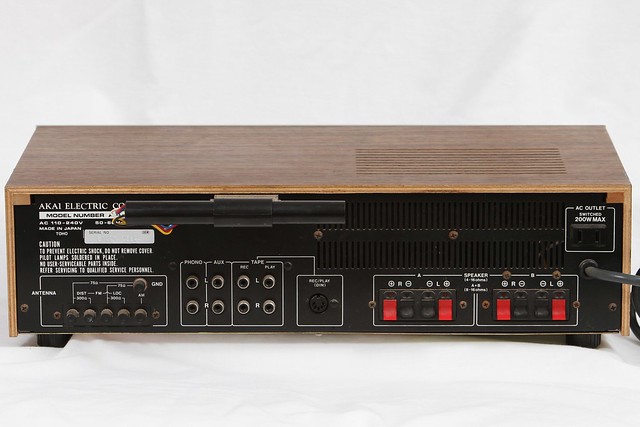
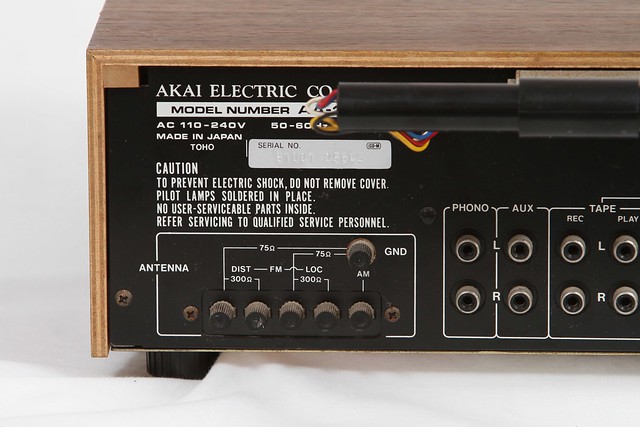
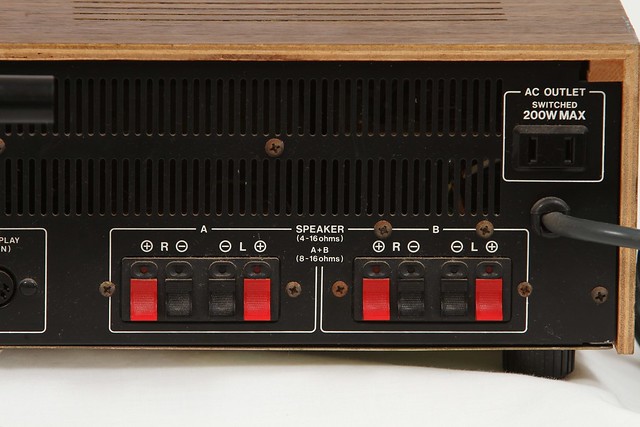
This unit was acquired in a bulk purchase of Akai equipment, more of which will follow their restoration journey on this site. Cosmetically it's extremely good for a near 35 year old receiver. The only down side is the wearing of the Power/Speaker selection knob. A casualty of war so to speak for most Akai amplifiers and receivers of the day. The design is based around the selection of Power off, Speaker A, Power with no speakers, Speaker B and Speaker A+B causes frequent use of this knob. If you were to have two speakers connected, the constant complete arc turn would cause your fingers to constantly rub over the somewhat delicate silk screening.
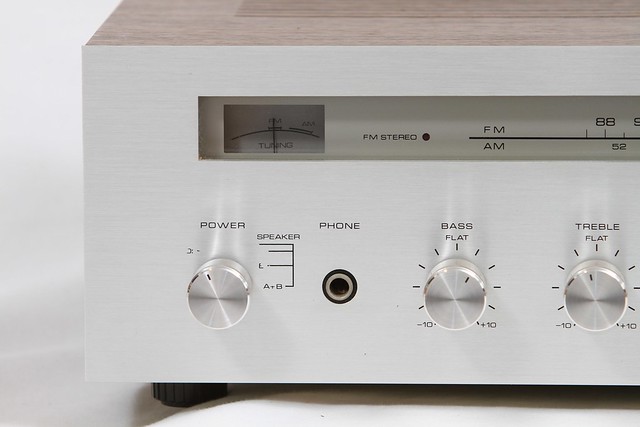
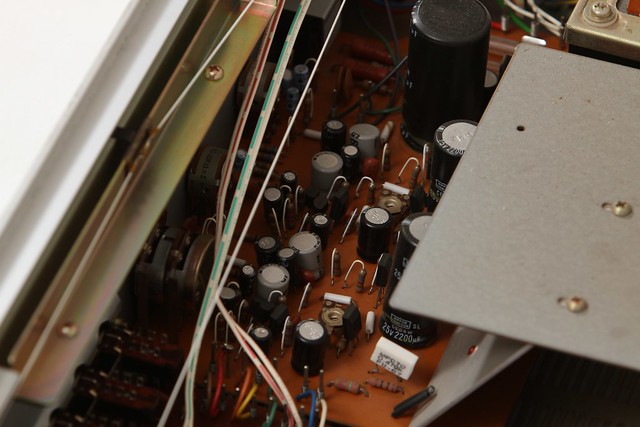
Internally this unit was in exceptional condition with only the slightest layer of dust inside. As is the norm for units of this vintage, the knobs for Volume, Bass, Treble and Input selections were quite stiff and all required re-lubrication and cleaning of the contacts.

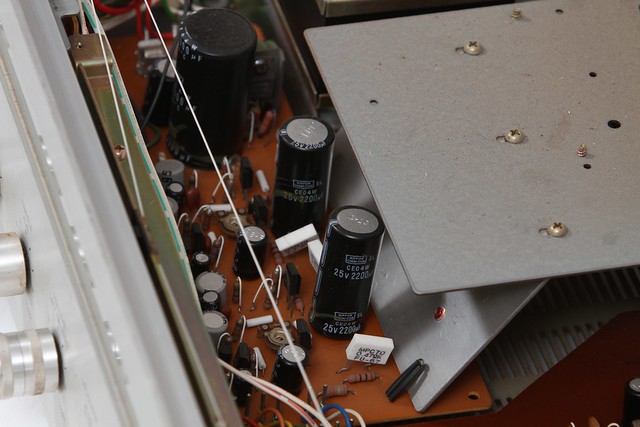
The capacitors originally used in this unit were Elna branded. Quite a respectable brand however after this long most of them were reading +/- 20% outside of their rated values. A quick audition of the receiver prior to restoration was not awfully promising, the sound being quite bland and mid-ranged, highs and lows were nowhere to be found... it was not looking good at all.
Before:
After:


The re-capping of the unit used my 'teacher's pet' favourite the Panasonic AM series of capacitors. All electrolytics were replaced in the power amplifier and preamplifier section. The solitary filter capacitor- A 3300uF rated part was upgraded with a Panasonic TS-HA 4700uF capacitor. All the transistors were tested and well within operating specification, the speaker and power fuses were also replaced with like for like value.

The result was much better than expected, this little amplifier could really sing! The bottom end seemed to be infinite at normal listening levels and only started to give way at a volume that would just be uncomfortable to listen at. The mids were tamed back while the highs came back out of hiding! Paired with an efficient pair of speakers this receiver will exceed many expectations of what 15 WPC can deliver. It's nothing too fancy but a very solid performer. Although I won't be swapping out my Class A amplifier I use for day to day in the office with this unit, If someone were to ask me for a good sounding receiver for a small office or bedroom with looks to boot this would be it.
So there it is, the Akai AA-1010, as always there are more modelling shots of this wonderful unit below, I hope you have once again enjoyed this restoration and writeup. If you ever have any questions or want to know more please comment below, I promise to reply!
Enjoy!
Faceplate prior to cleanup:


Post cleanup:


Great blog you've got here, the photography in particular! I'm surprised at how far down on the Google results it is, given the quality of the content.
ReplyDeleteI just came from doing a write-up on the AA-1010 that entered my shop the other day, such a nice unit it is. Good going on re-capping it, I wish I had the patience to do that with all my units.
Sorry for the belated reply, but thank you! The re-capping may be laborious at times but it is a must! The difference is phenomenal. Even just doing the main filters makes a huge difference in the response of the units! Enjoy!
ReplyDeleteGood day,
ReplyDeleteI have an Akai 1010 but the right speakers of A & B is not working. Think the problem might be with the right aux input?
Do you have any suggestions on how to fix the problem
Hi, I just acquired this unit at a garage sale, and it turns out it has the exact same problem with both the A&B right speakers. I was wondering if you got a reply and, if you were able to fix the problem.
DeleteCan you post a link for where you purchased the caps?
ReplyDeleteAlso, can you use a two terminal cap in place of the three terminal cap that came out?
Thank you,
Chuck
Lovely blog. Thanks for sharing with us, I really enjoyied myself reading this.
ReplyDeleteI fell in love with a little machine like this myself and I am planning to do the same thing like you did as the machine looks good but the sound is quite far from the original.
I must mention that I am not a professional myself, even though I'm quite handy with the soldering gun and fixing things. I tried to bring the machine to a professional but they don't do such things anymore as it seems is not worthy for them and the bill would exceed any expectations. Anyways, after reading this wonderful blog of yours, I decided to do the job myself and see what happens:)
I only have a question for you: did you do any additional setting-up procedures after replacing the capacitors? I have a service manual for this unit and they have some procedures for setting-up the variable resistors and stuff.
Thank you for everything!
Greetings from Romania :)
Cosmin
P.S: Btw, I'm a professional photographer, great photos mate! :)
Thanks for your job, awesome blog
ReplyDeleteI have one of these, i rescued it and it works fine. It sounds like brand new and way better than nowadays models
Hi,
ReplyDeleteWhat would one of these be worth today in good working order?
I recently purchased an akai aa-1050 model, the only thing that does not work is the backlight. Was wondering if you would know what to change and where it would be located. I have a service manual but it does not have any reference to replacing the backlight. Any and all suggestions would be appreciated. Thank you.
ReplyDeleteHi its very simple first take out all the knobs then unscrew the aluminun plaque and you will see them one on the right and the other on the left, they are conected with black and white cables. What you have to do is to replace the small bulbs, thats all. good luck
DeleteHi its very simple first take out all the knobs then unscrew the aluminun plaque and you will see them one on the right and the other on the left, they are conected with black and white cables. What you have to do is to replace the small bulbs, thats all. good luck
DeleteThis Receiver is running since 1977 in my home and i'm verry happy with it.
ReplyDeleteWhat speakers do u guys use ?
ReplyDeleteLike the other Anonymous above, I bought my AA-1010 in '77 at now defunct Circuit City brand new, along with B.I.C. speakers and a B.I.C. turntable. The speakers and table have long passed away, but the AKAI receiver is still going strong after 37 years! It is now part of a home theater system at a 2nd home, standing proud next to a latest vintage LED flat screen and DVD/CD player, singing along through B&W speakers. I was 24 when I bought it so you do the math; it will be with me for as long as I live. Yep, they don't build them like this anymore...
ReplyDeleteHi,
ReplyDeleteI have the same receiver. I had some shorted transistors so modded them to MJE15032. I also intend to increase the 3300uf 50 v cap to 4700 uf 50 v cap. Please tell me why u did not increase the 2200uf 25 v caps to 4700 uf 50 v. Can we increase the value of those caps also ?
To undergo a car stereo installation inside a car, you either can take the assistance of an experienced and profession stereo installation hand, or can simply do the process by yourself by following the guidelines provided in the handbooks of the stereo.
ReplyDeletestereodevelopment
A note of alert here, there are numerous producers of units out there. You can discover packs for a similar auto that look the same extending in cost from $10-$50. https://www.amplifierexperts.com/best-car-amplifier-for-subwoofer/
ReplyDeletehow do I get rid of the hum in the phono section?
ReplyDeleteThanks
Hum is probably a grounding issue, based on a ton of videos watched.
ReplyDeleteThe Good The Denon AVR-S730H is among the least expensive receivers with this level of features, including 4K/HDR comp website here
ReplyDeleteThe Denon AVR-S920W gives you a pretty good list of connectivity options including component, analog audio and digital inputs. The 920 is well stocked with HDMIs with a total of 8 (including one on the front). Better yet, if you’re pla avr s930h reviews
ReplyDeleteI had the very same receiver when I was growing up. I loved it!
ReplyDelete